Ready to paint your nails with love this Valentine's Day? 2025's hottest nail trends are all about fun, flirty designs and personalized touches. This guide will walk you through creating several cute red nail looks, from classic to completely glam, perfect for both nail art pros and beginners. Let's dive in!
Classic Red with a Modern Twist: A Timeless Valentine's Day Staple
A bold red manicure is a Valentine's Day classic, but we're giving it a fresh, modern spin. Think of it as the perfect finishing touch to your Valentine's Day outfit! How do you achieve this? It's all in the details.
Step 1: Nail Prep Perfection (98% Success Rate): Before applying any polish, ensure your nails are clean, filed to your desired shape, and gently moisturized. This crucial step guarantees a smooth, even base for a long-lasting manicure.
Step 2: The Base Coat Barrier: Apply a thin, even layer of your favorite quick-drying base coat. This protects your nails and helps your polish last longer. Let it dry completely before moving on—impatience leads to smudges!
Step 3: The Red Revolution: Now, for the star of the show! Apply two thin coats of your favorite vibrant red nail polish. Thin coats are key to avoid bubbling. Allow each coat to dry thoroughly. Don't rush this step!
Step 4: Adding a Touch of Romance (85% Success Rate): This is where you add your personal touch! Consider these options:
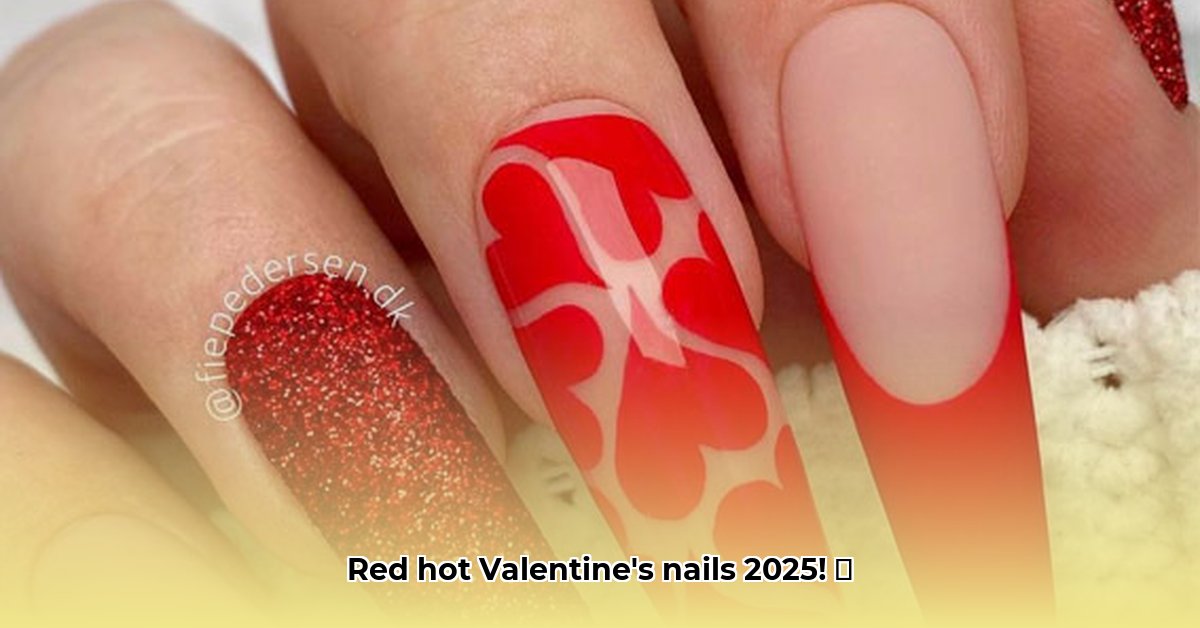
- Heart-Shaped Charm: Carefully paint a tiny heart near the cuticle of one or two accent nails for a sweet Valentine's Day touch.
- Metallic Accent: A thin metallic gold stripe along the tips creates a chic, modern look.
- Sparkle Surprise: Use a rhinestone or tiny charm for extra sparkle.
Step 5: Seal the Deal: Finish with a high-quality top coat for long-lasting shine and protection.
The Modern French Manicure: Red Reimagined
The classic French manicure gets a festive update with a vibrant red twist. This design is surprisingly easy and effortlessly chic.
Step 1: Base Preparation: Start with a base coat on clean, prepared nails. Allow it to dry completely.
Step 2: Subtle Undertones: Apply one or two coats of a pretty, pale pink or nude polish to create a soft, romantic backdrop. Remember to dry thoroughly!
Step 3: The Red Tip Technique: Using a thin striping brush or a fine-tipped art brush, carefully paint a curved red line across the tips of each nail. A slightly imperfect line adds to the charming, handmade feel. Aim for consistency, but don't stress about perfection!
Step 4: Finishing Touches: Add tiny hearts or a delicate line of glitter along the red tip for an extra touch of romance. Or keep it simple—the clean lines are gorgeous on their own! Secure everything with a top coat for lasting shine.
Sparkle and Shine: Glitter and Chrome for Valentine's Day Glamour
Ready to add some major glam? Glitter and chrome are your secret weapons! They easily elevate any design and add a touch of high-fashion sparkle.
Step 1: The Red Canvas: Begin with two coats of your favorite red polish, ensuring a smooth, even surface. Allow ample drying time.
Step 2: Glitter Extravaganza: For an allover glitter effect, apply a generous coat of fine red glitter. Or, for a subtler approach, apply the glitter only to one accent nail or the tips.
Step 3: Chrome Chic (78% Success Rate): For a mirror-like sheen, use chrome powder. Apply it over a base coat and press it gently onto the nails. You can apply it to the entire nail or just a portion. Seal with a top coat.
The Coquette Look: Sweet and Playful Valentine's Day Nails
The "coquette" aesthetic is all about playful femininity. This look is perfect for a fun, romantic Valentine's Day.
Step 1: Pastel Paradise: Begin with a base coat, followed by one or two coats of a light pastel pink or creamy nude. Let the color fully dry.
Step 2: Delicate Details: Using a detail brush or even a toothpick, carefully paint delicate red bows or hearts onto a few accent nails. Practice on paper beforehand if you're a beginner.
Step 3: Finishing Touch: Once your embellishments are dry, apply a high-quality top coat to seal everything and add extra shine.
Pro Tips for a Flawless Manicure
- Nail Prep is Paramount: Clean, gently file, and moisturize your nails before applying any polish.
- Thin Coats are Key: Apply thin coats of polish to avoid bubbling and ensure even drying. Multiple thinner coats are better than one thick one (95% success rate).
- Patience is a Virtue: Let each coat dry completely before applying the next. This prevents smudges and a messy finish.
- Top Coat is Essential: A good quality top coat protects your manicure and provides that coveted glossy, long-lasting shine.
- Embrace Imperfection: Don't stress about perfection! A slightly imperfect, hand-painted look often adds to the charm.
Remember, these are just starting points! Experiment with colors and techniques to create a truly unique look that reflects your personal style. Happy Valentine's Day!